 6.
MyTweetプロジェクト
6.
MyTweetプロジェクト
プロジェクト作成
動的Webプロジェクト「MyTweet」を作成し、ログイン認証をしてみましょう。コンテンツディレクトリはデフォルトで「src/main/webapp/」としています。
ファイル構成
MyTweet/
├── src/main/java/
│        ├── model/
│        │      ├── TestUser.java
│        │      └── User.java
│        └── page/
│            ├── login/
│            │      ├── LoginAuth.java
│            │      └── LoginIndex.java
│            └── user/
│                     └── UserIndex.java
└── src/main/webapp/
    └── views/
        ├── login/
        │     └── index.jsp
        └── user/
              └── index.jsp
ログインのURL
ログイン画面表示は、以下のURLでGETリクエストで対応します。
http://localhost:8080/MyTweet/login/
ログイン認証処理は、以下のURLでPOSTリクエストに対応します。
http://localhost:8080/MyTweet/login/auth
オートリロード
「プロジェクト」タブの「Server」から対象のTomcatを開きます。「server.xml」で「MyTweet」の「reloadable」を「true」にしておきます。
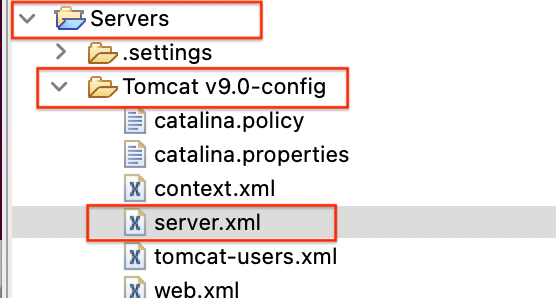
<Context docBase="MyTweet" path="/MyTweet" reloadable="true" source="org.eclipse.jst.jee.server:MyTweet"/></Host>
ログイン画面
Servletの作成
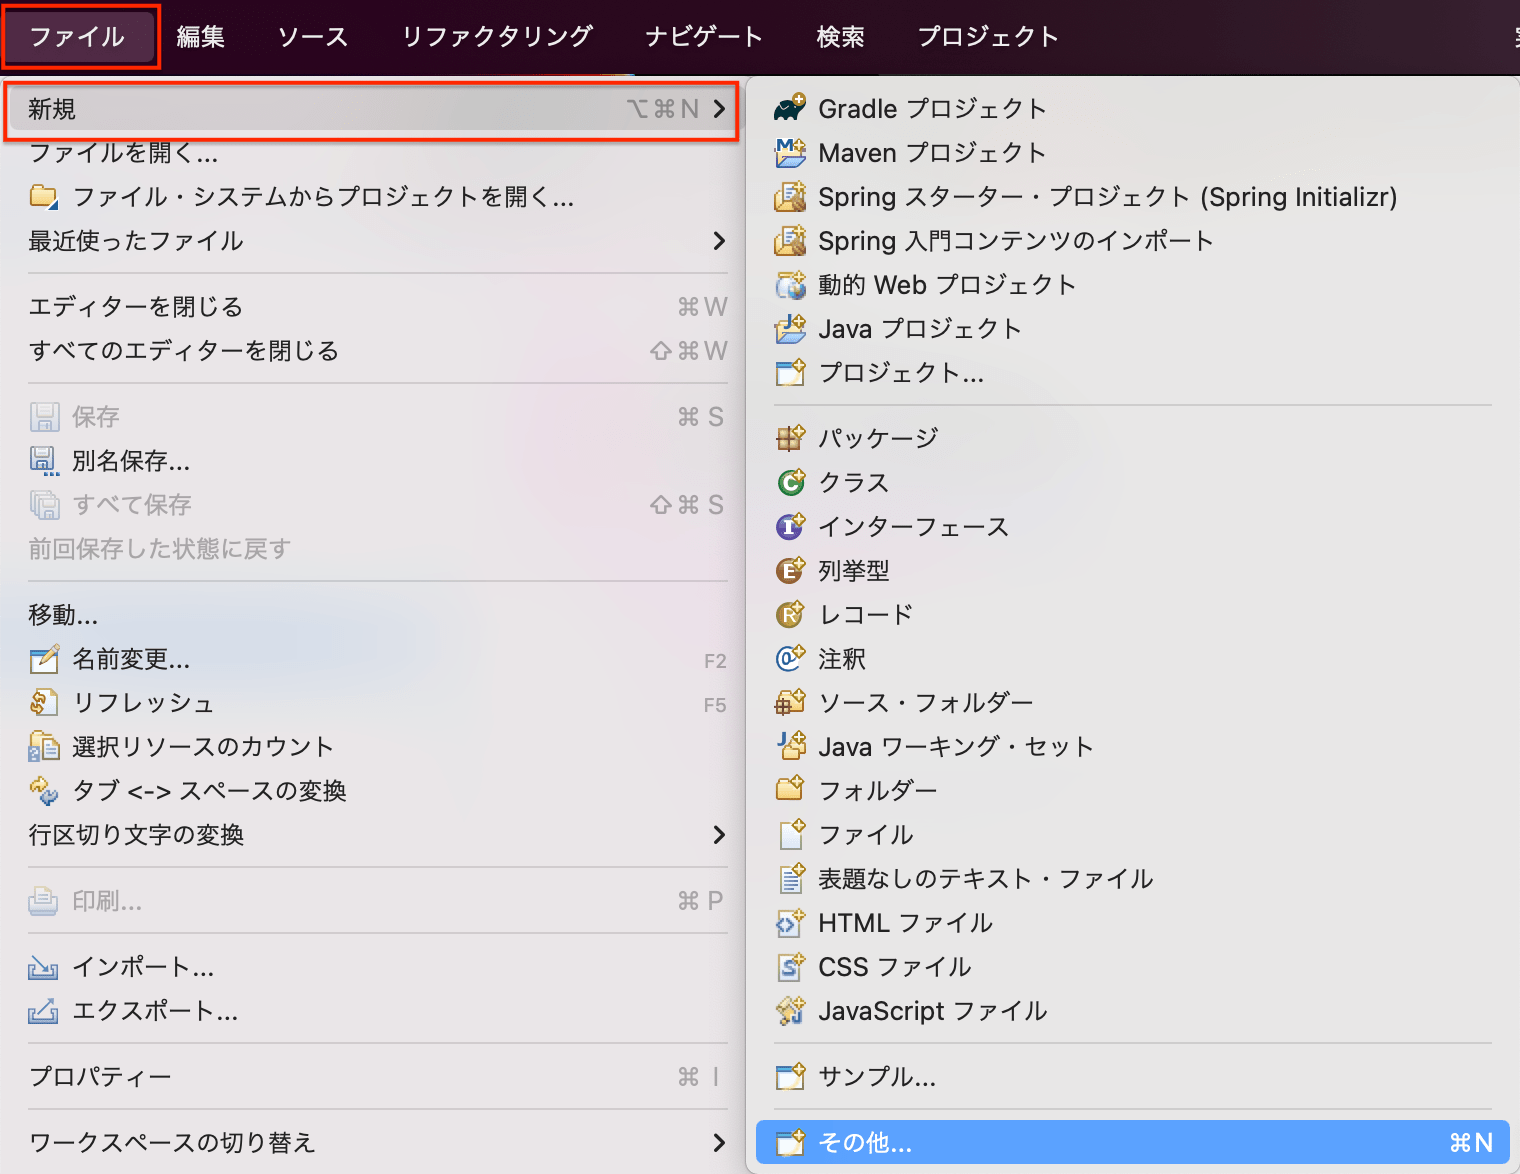
「ファイル > 新規 > その他...」を選択します。
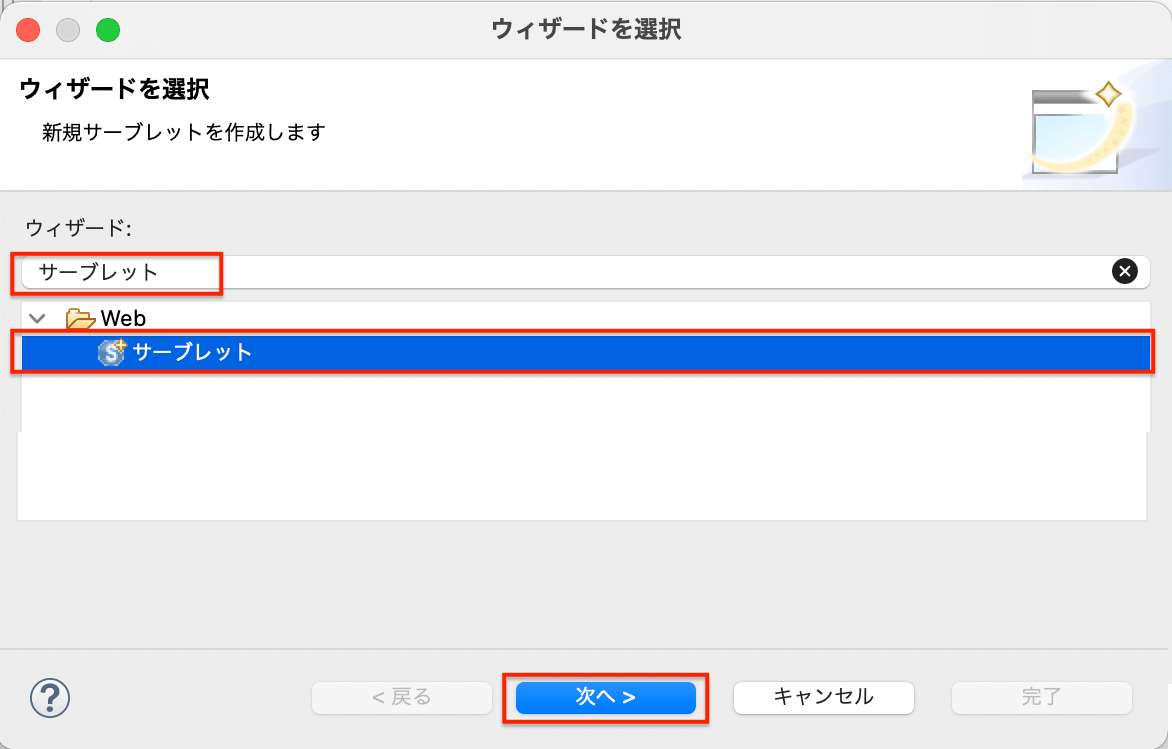
「Web > サーブレット」を選択して【次へ】を選択します。
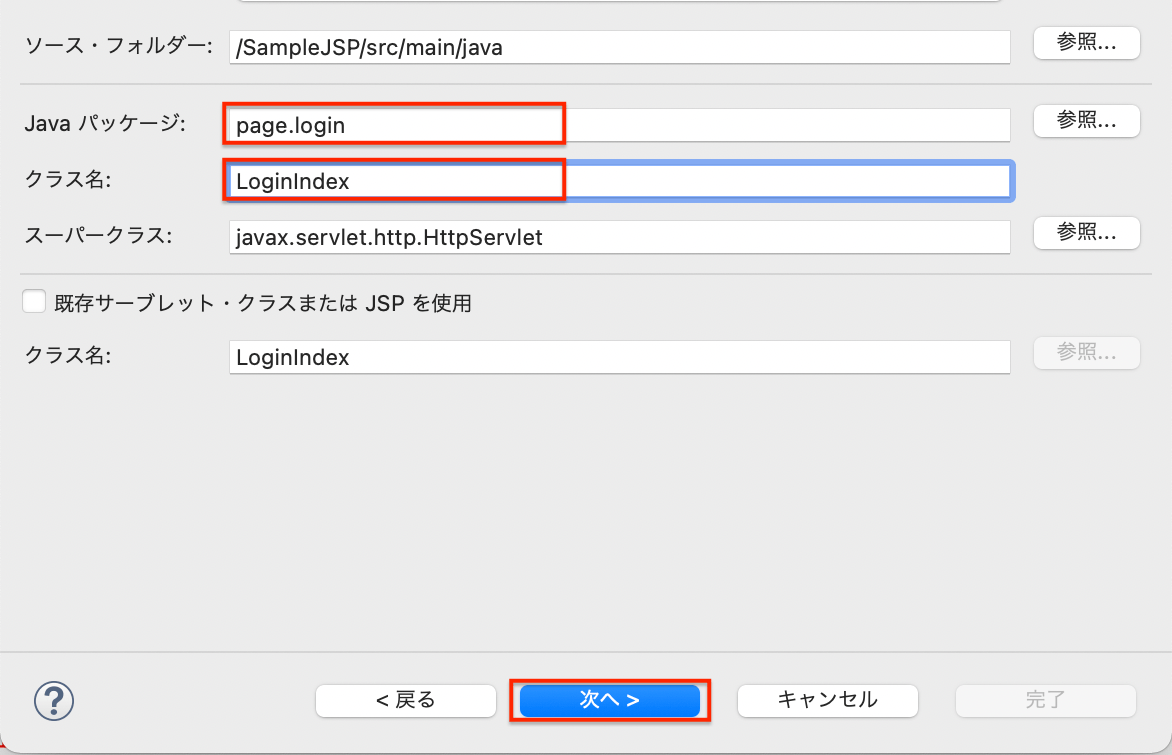
Javaパッケージ「page.login」、クラス名「LoginIndex」で【完了】をクリックします。
WebServletアノテーション設定
「LoginIndex.java」を作成したら、WebServletアノテーションを修正します。
LoginIndex.java
@WebServlet(name = "LoginIndex", urlPatterns = { "/login/" })
- サーブレット名:LoginIndex
- URLパターン:/login/
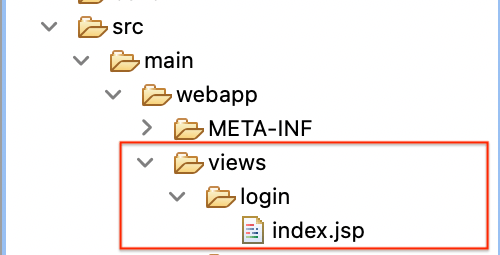
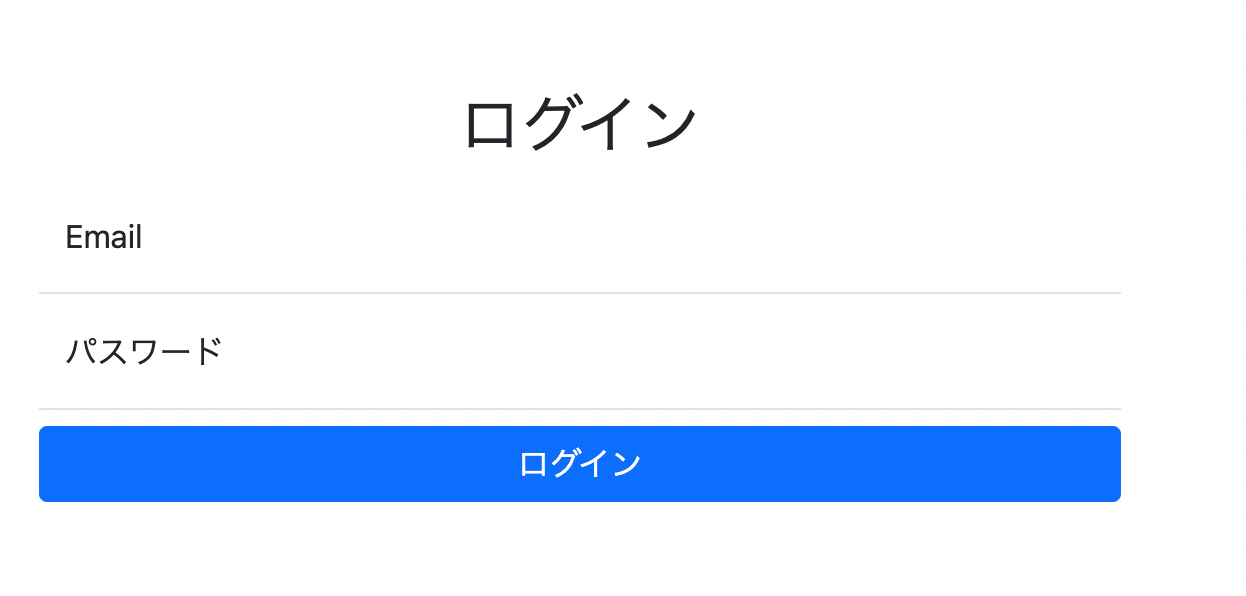
Viewの作成
「views/login/index.jsp」にログインフォームを作成します。
views/login/index.jsp
<%@ page language="java" contentType="text/html; charset=UTF-8"
	pageEncoding="UTF-8"%>

<!DOCTYPE html>
<html lang="ja">

<head>
<meta charset="UTF-8">
<meta http-equiv="X-UA-Compatible" content="IE=edge">
<meta name="viewport" content="width=device-width, initial-scale=1.0">
<title>Login</title>
<link
	href="https://cdn.jsdelivr.net/npm/[email protected]/dist/css/bootstrap.min.css"
	rel="stylesheet">
</head>

<body>
	<main class="w-50 m-auto mt-5">
		<h2 class="text-center">ログイン</h2>
		<form action="auth" method="post">
			<div class="form-floating">
				<input type="text" name="email"
					class="form-control border-0 border-bottom rounded-0"
					id="floatingInput" placeholder="[email protected]"> <label
					for="floatingInput">Email</label>
			</div>

			<div class="form-floating">
				<input type="password" name="password"
					class="form-control border-0 border-bottom rounded-0"
					id="floatingPassword" placeholder="パスワード"> <label
					for="floatingPassword">パスワード</label>
			</div>
			<div class="d-grid mt-2">
				<button class="btn btn-primary">ログイン</button>
			</div>
		</form>
	</main>
</body>

</html>
View表示
RequestDispatcher
ServletでのView表示は、RequestDispatcherクラスを利用します。RequestDispatcherの getRequestDispatcher() で、JSPファイルを指定し、forward() でレスポンスします。
RequestDispatcher dispatcher = request.getRequestDispatcher(JSPファイルパス);
dispatcher.forward(request, response);
doGet() の修正
ログイン画面のJSPパス「/views/login/index.jsp」を変数定義します
LoginIndex.java
@WebServlet(name = "LoginIndex", urlPatterns = { "/login/" })
public class LoginIndex extends HttpServlet {
	private static final long serialVersionUID = 1L;
	private String jsp = "/views/login/index.jsp";
    ...
}
doGet() でJSPファイルを RequestDispatcher で読み込みます。
LoginIndex.java
	protected void doGet(HttpServletRequest request, HttpServletResponse response)
        throws IOException, ServletException {
		request.getRequestDispatcher(jsp).forward(request, response);
	}
Viewの確認
サーバを起動して「http://localhost:8080/MyTweet/login/」にアクセスして確認してみましょう。
リクエストデータ取得
getParameter()
POST/GETリクエストのデータは、HttpServletRequestインスタンス のgetParameter() で取得します。
doPost()
	protected void doPost(HttpServletRequest request, HttpServletResponse response)
			throws ServletException, IOException {
		String データ = request.getParameter(パラメーターのキー);
	}
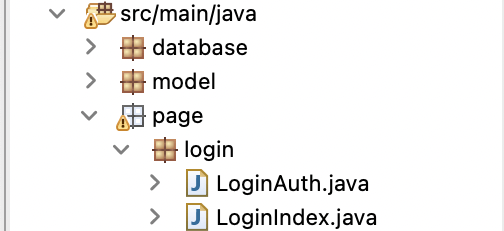
Servletの作成
「page.login」パッケージに「LoginAuth」サーブレットを作成します。作成方法は「LoginIndex」同様です。
WebServletアノテーション設定
「LoginAuth.java」を作成したら、WebServletアノテーションを修正します。
@WebServlet(name = "LoginAuth", urlPatterns = { "/login/auth" })
public class LoginAuth extends HttpServlet
   ...
}
- サーブレット名:LoginAuth
- URLパターン:/login/auth
POSTデータの取得・確認
doPost() でフォーム送信データ「email」「password」を取得し、確認用にコンソール表示します。POSTデータは、request.getParameter() で取得します。
Login.java
	protected void doPost(HttpServletRequest request, HttpServletResponse response)
			throws ServletException, IOException {

		String email = request.getParameter("email");
		String password = request.getParameter("password");

		System.out.println(email);
		System.out.println(password);
	}
フォーム送信の確認
ログイン画面でデータ入力して【ログイン】ボタンをクリックします。

結果
コンソールに入力したデータが表示されるか確認してみましょう。
[email protected]
pass12345
送信後はブランクページ
doPost() でレスポンス処理をしていないため、送信後はブラウザ表示は何も表示されません。
演習
問題1
HTTPリクエストのクラスはどれですか?
1)HttpServlet
2)WebServlet
3)HttpServletRequest
4)HttpServletResponse
問題2
HTTPレスポンスのクラスはどれですか?
1)HttpServlet
2)WebServlet
3)HttpServletRequest
4)HttpServletResponse
問題3
コンテキスト名「shopping」で、「http://localhost:8080/shopping/item/list」にアクセスした時のサーブレットのアノテーションはどれですか?
1)@WebServlet("localhost:8080/shopping/item/list")
2)@WebServlet("/shopping/item/list")
3)@WebServlet("/item/list")
4)@WebServlet("/list")